Introduction
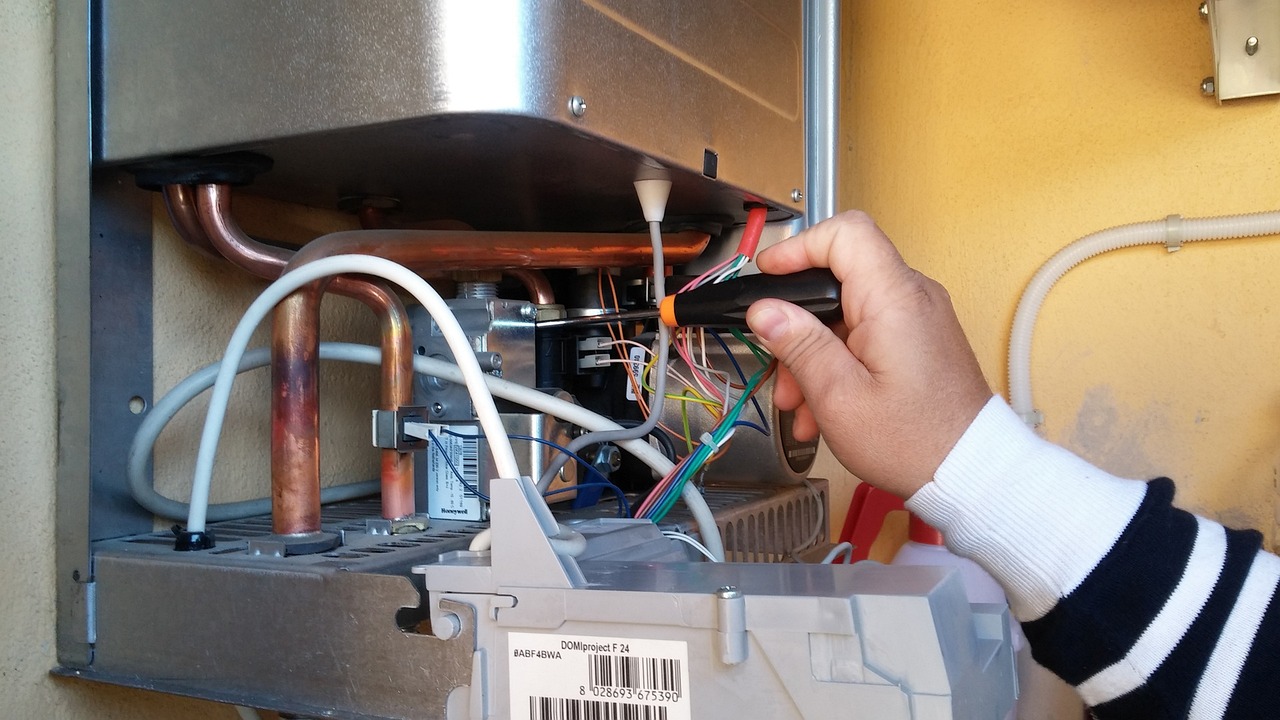
Welcome to our comprehensive guide on how to clean a dirty thermocouple on a water heater. At [Your Company Name], we understand the importance of maintaining your water heater for optimal performance. A dirty thermocouple can lead to inefficiencies, affecting your water heater’s ability to function at its best. In this guide, we’ll walk you through the step-by-step process of cleaning a dirty thermocouple to ensure your water heater runs smoothly and efficiently.
Understanding the Thermocouple
Before diving into the cleaning process, let’s briefly understand what a thermocouple is and its role in your water heater. A thermocouple is a vital component that senses the temperature of the pilot flame. It generates a small voltage that keeps the gas valve open, allowing the pilot light to stay lit. Over time, debris and soot can accumulate on the thermocouple, hindering its performance.
Tools You’ll Need
To successfully clean your thermocouple, gather the following tools:
- Wrench
- Sandpaper (fine grit)
- Compressed air can
- Soft-bristle brush
- Lint-free cloth
Step 1: Turn Off the Gas Supply
Safety is our priority. Begin by turning off the gas supply to your water heater. Locate the gas control valve and turn it to the “Off” position. This ensures a secure environment for the cleaning process.
Step 2: Identify the Thermocouple Location
Locate the thermocouple – it’s usually positioned near the pilot light. Refer to your water heater’s manual for specific instructions on thermocouple location.
Step 3: Remove the Thermocouple
Use a wrench to gently disconnect the thermocouple from the gas control valve. Take care not to damage any surrounding components.
Step 4: Clean with Compressed Air
Hold the thermocouple upside down and use a can of compressed air to blow away loose debris and dust. This ensures a clean surface for the next steps.
Step 5: Sandpaper for Precision
Gently use fine-grit sandpaper to clean the thermocouple’s surface. This removes stubborn deposits and restores optimal conductivity. Be cautious not to scratch or damage the thermocouple.
Step 6: Brush Away Residue
Employ a soft-bristle brush to sweep away any remaining residue. Ensure the entire thermocouple is free from debris.
Step 7: Reattach the Thermocouple
Carefully reattach the thermocouple to the gas control valve using the wrench. Ensure it’s securely fastened.
Step 8: Test the Pilot Light
Turn the gas supply back on and relight the pilot. Observe the flame – it should burn steadily without flickering. This indicates a successful cleaning.
Maintenance Tips
To prolong the life of your thermocouple and maintain a well-functioning water heater, consider these additional tips:
Regular Inspections
Periodically inspect the thermocouple for any signs of buildup. Early detection allows for prompt cleaning, preventing potential issues.
Annual Professional Checkup
Schedule an annual checkup with a professional technician. They can perform a thorough inspection and address any concerns, ensuring your water heater operates efficiently.
Expanding Your Knowledge: Troubleshooting Common Thermocouple Issues
Introduction
Now that you’ve learned the art of cleaning a dirty thermocouple, let’s delve into troubleshooting common issues that may arise with this crucial component of your water heater. Identifying and addressing these problems promptly can save you from potential disruptions and extend the lifespan of your water heating system.
Insufficient Flame
If, after cleaning the thermocouple, you notice that the pilot flame remains weak or goes out frequently, there may be underlying issues. Check for gas supply issues, ensuring the gas valve is fully open. If the problem persists, it’s advisable to consult a professional technician to assess and rectify the situation.
Thermocouple Replacement
In some cases, cleaning may not be sufficient, especially if the thermocouple is damaged or shows signs of wear. If you experience continued problems with your water heater, consider replacing the thermocouple. Consult your water heater’s manual for compatible replacement parts or seek professional assistance.
Upgrading Your Thermocouple
As technology advances, so do the components available for your water heater. Consider upgrading to a modern, high-efficiency thermocouple to enhance the overall performance of your water heating system. This can result in energy savings and a more reliable hot water supply.
Preventive Measures
To ensure the continued smooth operation of your water heater, adopt the following preventive measures:
Regular Cleaning Schedule
In addition to cleaning the thermocouple when issues arise, establish a regular cleaning schedule. This proactive approach can prevent the accumulation of debris, maintaining optimal thermocouple function.
Monitor Flame Color
Regularly observe the color of the pilot flame. A consistent blue flame indicates efficient combustion. If the flame appears yellow or erratic, it may signify incomplete combustion, necessitating further investigation.
DIY vs. Professional Assistance
While the cleaning process outlined earlier is suitable for many homeowners, it’s essential to recognize when professional assistance is required. If you encounter persistent issues or are uncomfortable performing maintenance tasks, seek the expertise of a qualified technician. Professional inspections can uncover potential problems that may not be apparent during routine cleaning.
Final Thoughts
In conclusion, mastering the art of cleaning a dirty thermocouple is a valuable skill for every homeowner. By understanding the function of this component and addressing common issues, you ensure the consistent and efficient operation of your water heater. Remember, a well-maintained thermocouple contributes to energy savings, prolongs the life of your water heating system, and provides a reliable hot water supply for your household.


