Introduction
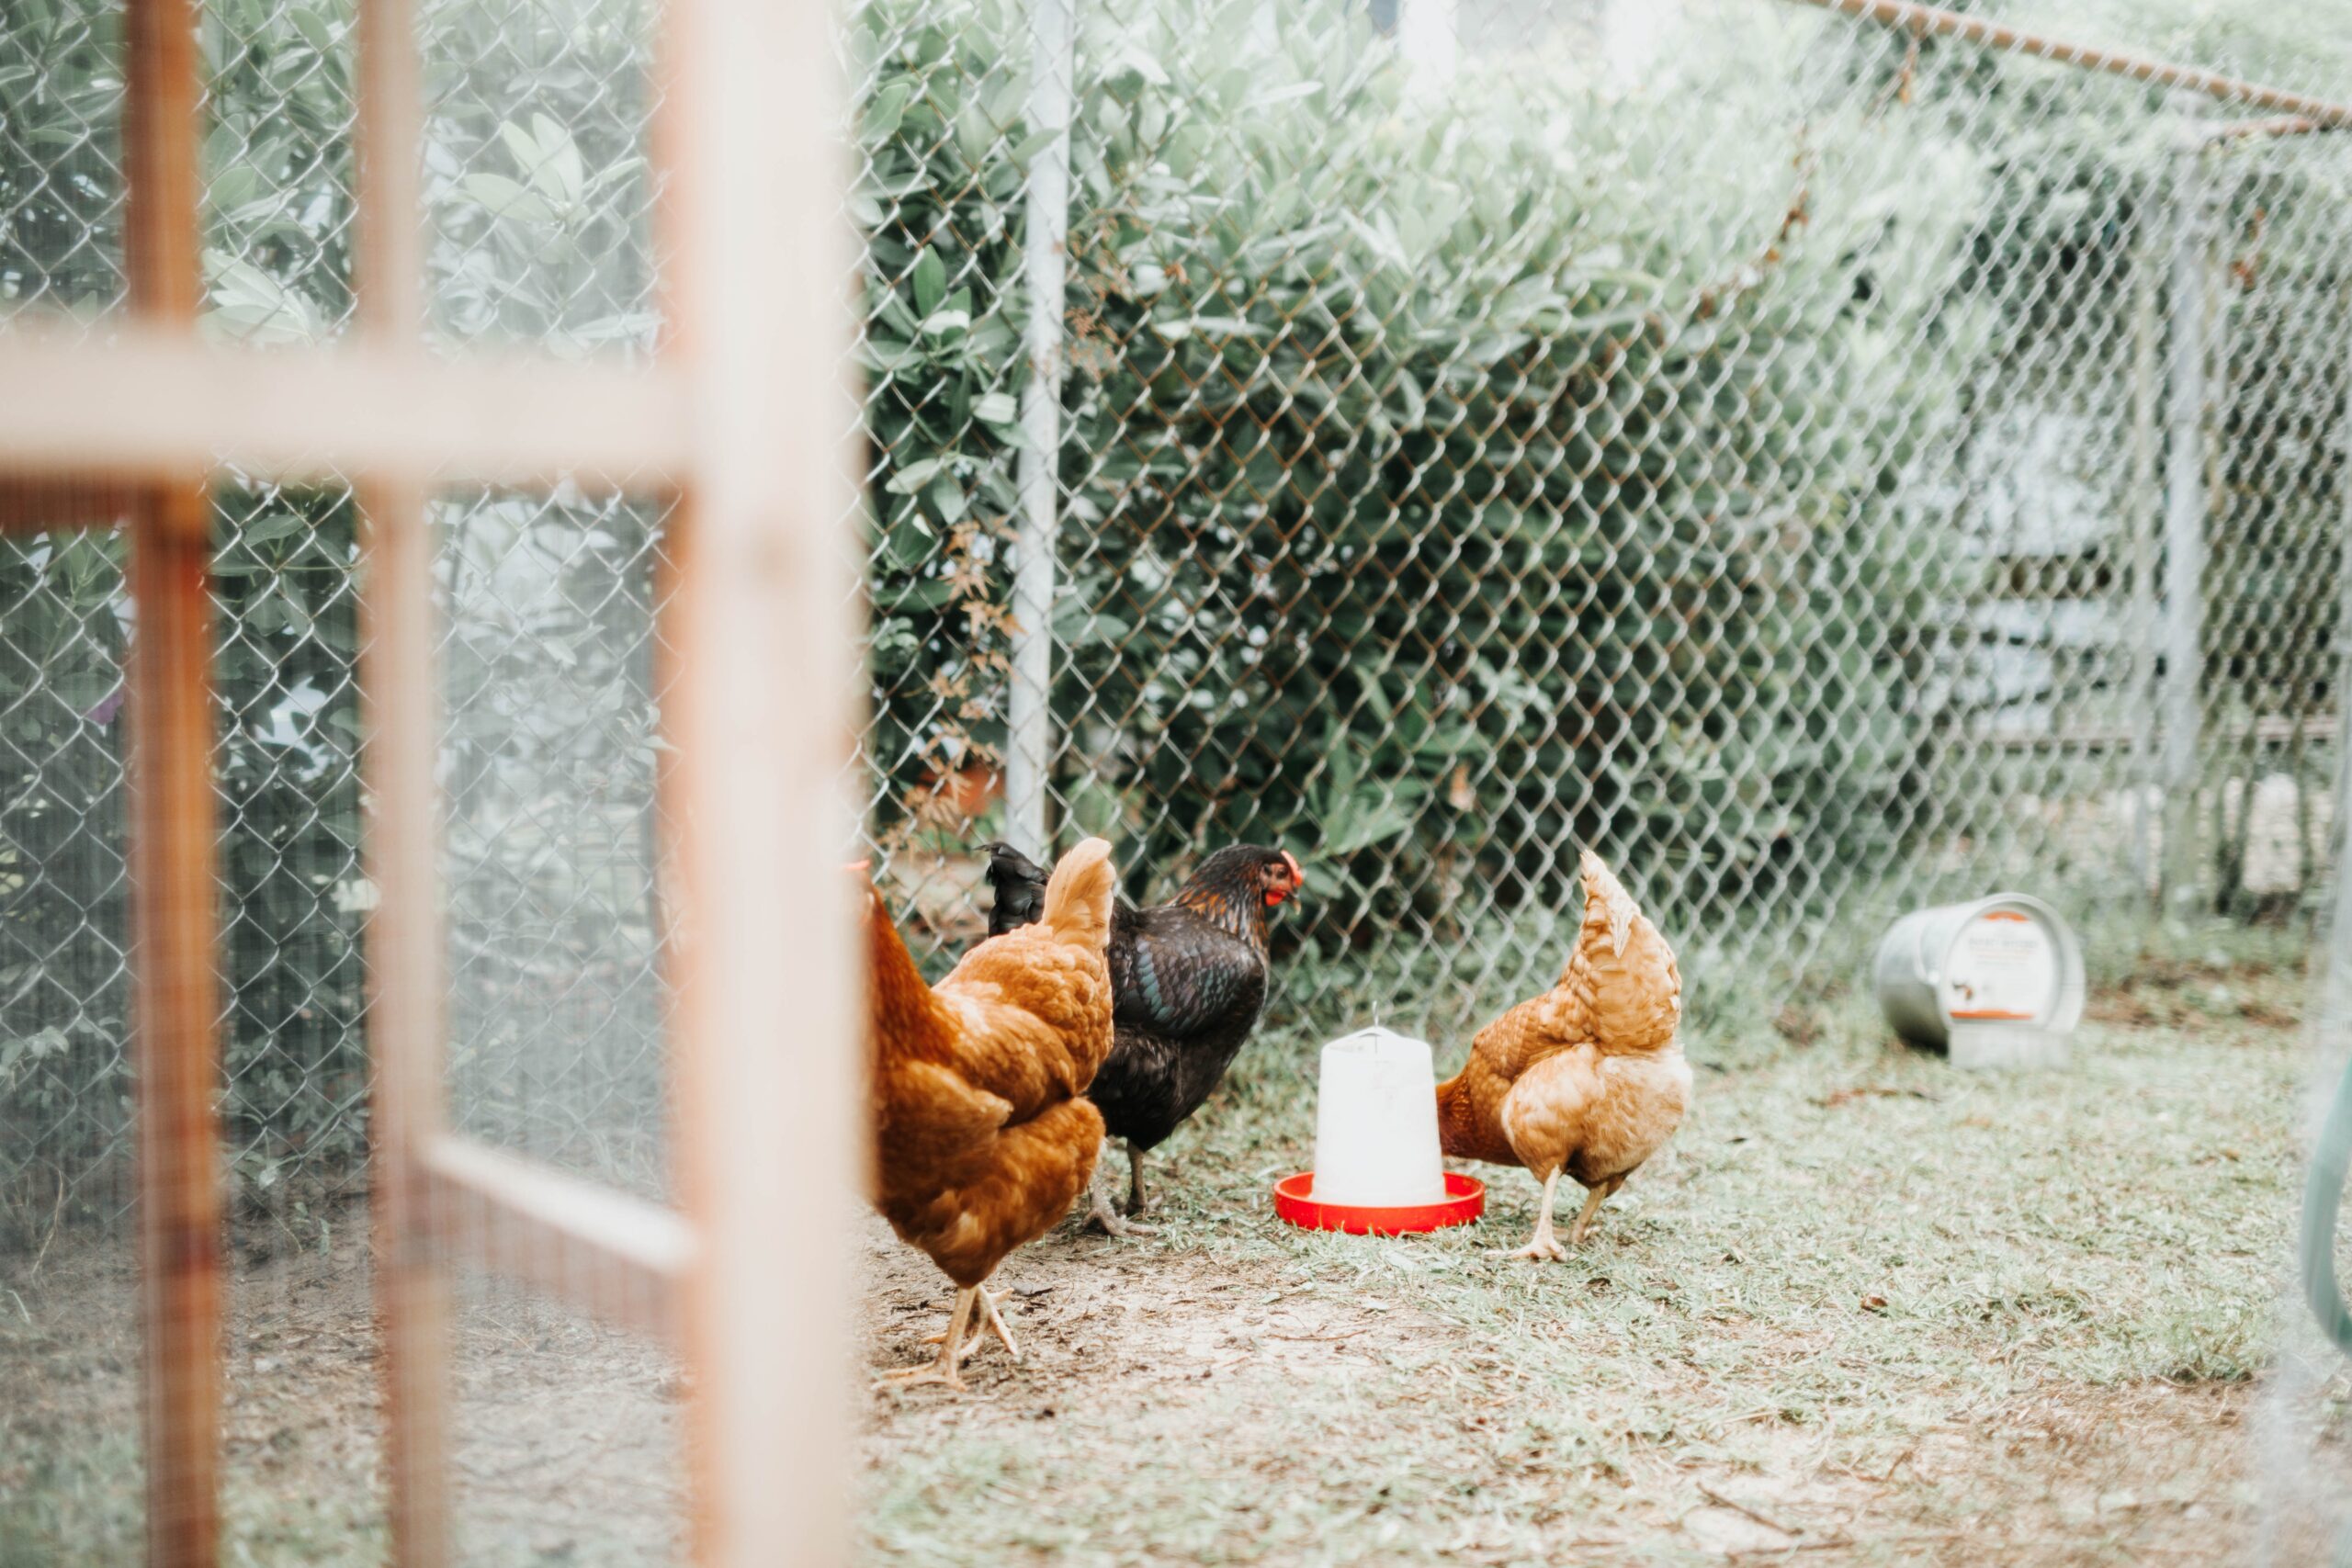
A clean and well-maintained chicken coop is essential for the health and well-being of your flock. Regular cleaning helps prevent the buildup of harmful bacteria and parasites, ensuring a clean and safe environment for your chickens. If your chicken coop has a dirt floor, it requires specific cleaning methods to keep it clean and odor-free. In this article, we will guide you through the step-by-step process of cleaning a chicken coop with a dirt floor.
Gather the Necessary Supplies
Before you begin cleaning the chicken coop, gather all the necessary supplies. This will save you time and effort during the cleaning process. Here are the essential supplies you will need:
- Rubber gloves
- Protective eyewear
- Broom or rake
- Shovel
- Wheelbarrow or bucket
- Water hose
- Scrub brush
- Disinfectant cleaner
- White vinegar
- Deodorizer (optional)
Remove the Chickens
Before you can start cleaning the coop, it’s important to remove the chickens and place them in a safe and secure location. This will prevent them from getting in the way and ensure their safety during the cleaning process.
Clear Out the Coop
Once the chickens are safely removed, clear out the coop by removing all bedding materials, such as straw or wood shavings. Use a broom or rake to sweep out any loose dirt, feathers, or debris. Collect all the waste material in a wheelbarrow or bucket for disposal.
Scrape and Remove Excess Dirt
With the coop cleared out, use a shovel to scrape and remove any excess dirt or droppings from the dirt floor. Be thorough in removing all the accumulated waste to ensure a clean and sanitary environment for your chickens.
Wash the Dirt Floor
Once the excess dirt is removed, it’s time to wash the dirt floor. Use a water hose to wet the dirt floor, making it easier to clean. Scrub the floor using a scrub brush and a mixture of water and a disinfectant cleaner. This will help kill any remaining bacteria or parasites that may be present.
Rinse and Dry
After scrubbing the dirt floor, rinse it thoroughly with clean water using the water hose. Make sure to remove any traces of the disinfectant cleaner. Allow the floor to air dry completely before adding fresh bedding materials.
Apply White Vinegar
White vinegar is a natural disinfectant and deodorizer. After the dirt floor has dried, you can further enhance its cleanliness by spraying or applying a solution of white vinegar. This will help eliminate any lingering odors and keep the coop smelling fresh.
Replace Bedding Materials
Once the dirt floor is clean and dry, it’s time to replace the bedding materials. Spread a fresh layer of straw or wood shavings on the floor to provide a comfortable and clean surface for your chickens.
Regular Maintenance
Regular maintenance is key to keeping your chicken coop with a dirt floor clean and odor-free. Schedule regular cleanings, ideally every 2-3 months, depending on the size of your flock and the condition of the coop. This will help prevent the buildup of dirt and waste, ensuring a healthy environment for your chickens.
Conclusion
Cleaning a chicken coop with a dirt floor requires some effort, but it is necessary for the health and well-being of your flock. By following the step-by-step process outlined in this article, you can ensure that your chicken coop remains clean, sanitary, and comfortable for your chickens. Regular cleaning and maintenance will help create a safe and healthy environment, allowing your chickens to thrive.


